
TRX® Fallout – Anti-extension with suspension straps
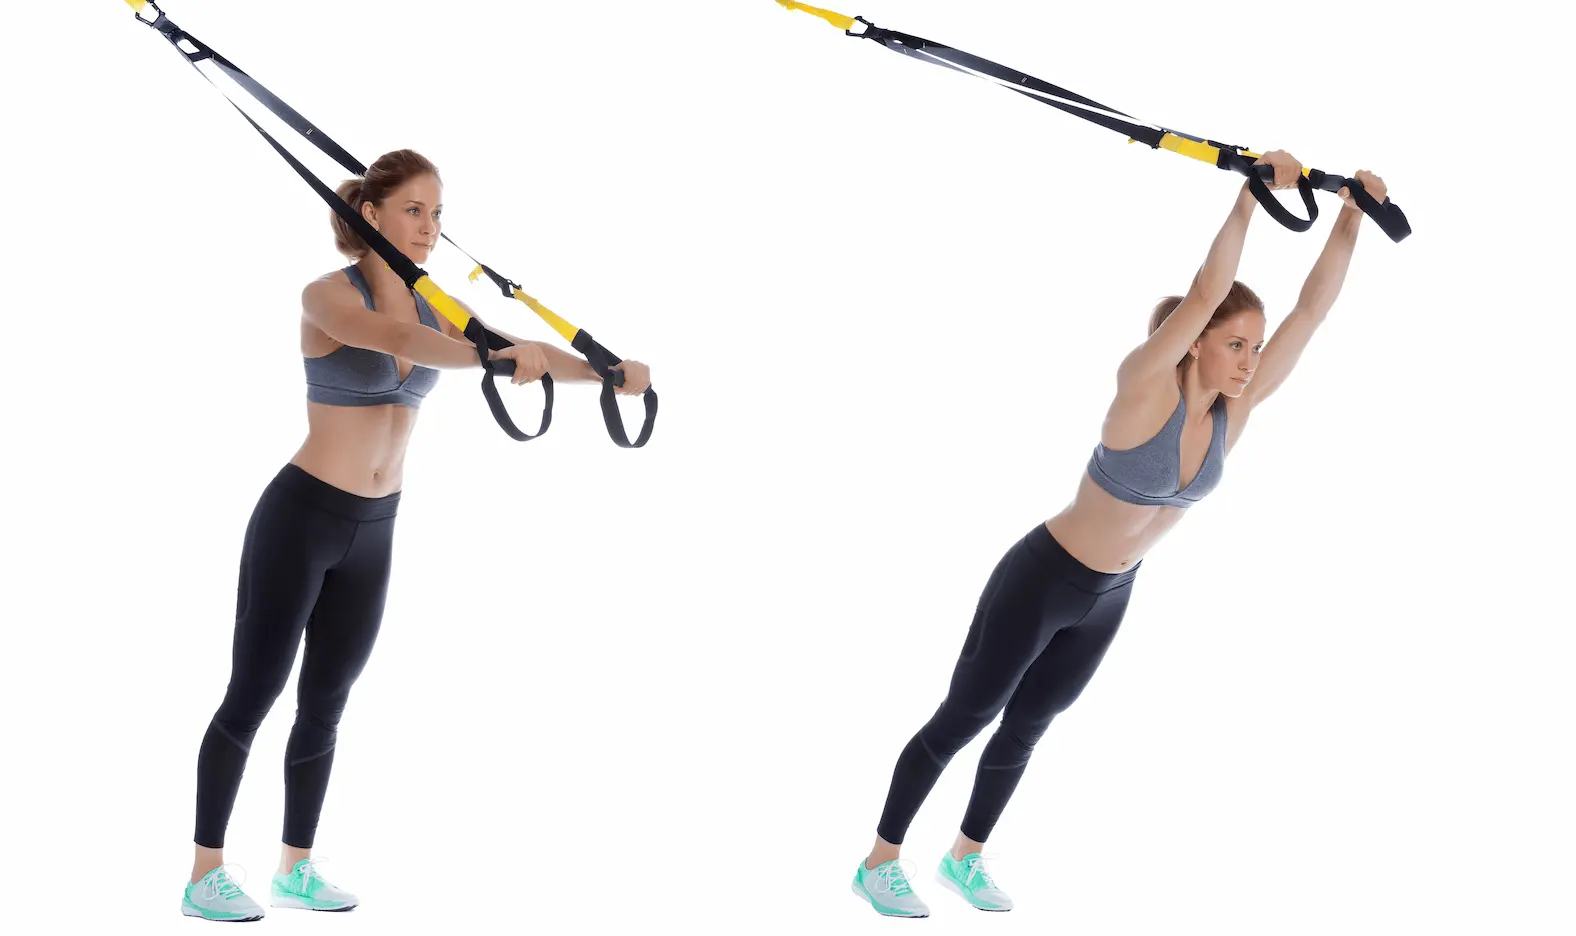
Category: 🟧 Push + anti-extension core
Difficulty: ★★★★☆ (intermediate/advanced)
Equipment: TRX suspension straps
A solid TRX® Fallout: long arms, ribs down, zero low-back pain.
Purpose
- Strengthen the anterior chain — deep abdominals, shoulder girdle, and shoulders — through anti-extension work.
- Reproduce the principle of a standing ab wheel rollout with a long lever arm, while keeping the movement safely guided through suspension training.
- Build solid core bracing to prepare for weightlifting movements, functional fitness drills, and TRX Pike / Push variations.
Muscles involved
- Primary: rectus abdominis, transverse abdominis, internal obliques, anterior deltoids, and pectoralis major during the isometric phase.
- Synergists / stabilizers: latissimus dorsi, serratus anterior, triceps for elbow lockout, glutes for pelvic anti-extension, and spinal erectors.
Variations
- Regressions: feet closer to the anchor point, reduced range of motion with the arms at 30–45°, or a kneeling version for beginners.
- Advanced variations: single-arm TRX Fallout with stronger anti-rotation demand, Fallout + ab wheel, or Fallout with a 2-second pause in extension.
- Tempo variations: partial-range work in 3–1–3 to maximize control in the hardest part of the movement.
- Strap length: mid-thigh, with the handles above the navel in standing position, to keep a long lever arm without losing control.
- Anchor point: around 2 m high — door, beam, or standard ceiling — and higher if possible, such as a high beam or rig. In pulling movements, the straps should rise about 30° from a horizontal line parallel to the floor, with the body angle adjusted through foot position. On the TRX® Fallout, aim for an anchor point above the head with the straps close to vertical.
- Handle symmetry: handles set at the same height, straps untwisted, and equal tension in both hands before leaning the body forward.
- Foot placement: feet hip-width apart, weight centered through the mid-foot; glutes tight to keep the pelvis in a slight posterior tilt.
This block is the core of the Suspension Training warm-up (2 minutes)
Must be performed before phases 2 (Neuro) and 3 (HIIT).
Straps at mid-calf, long plank position, shoulders slightly ahead of the wrists, transverse abdominis active. Micro-Body Saw version = slight forward/back oscillation without losing the body line.
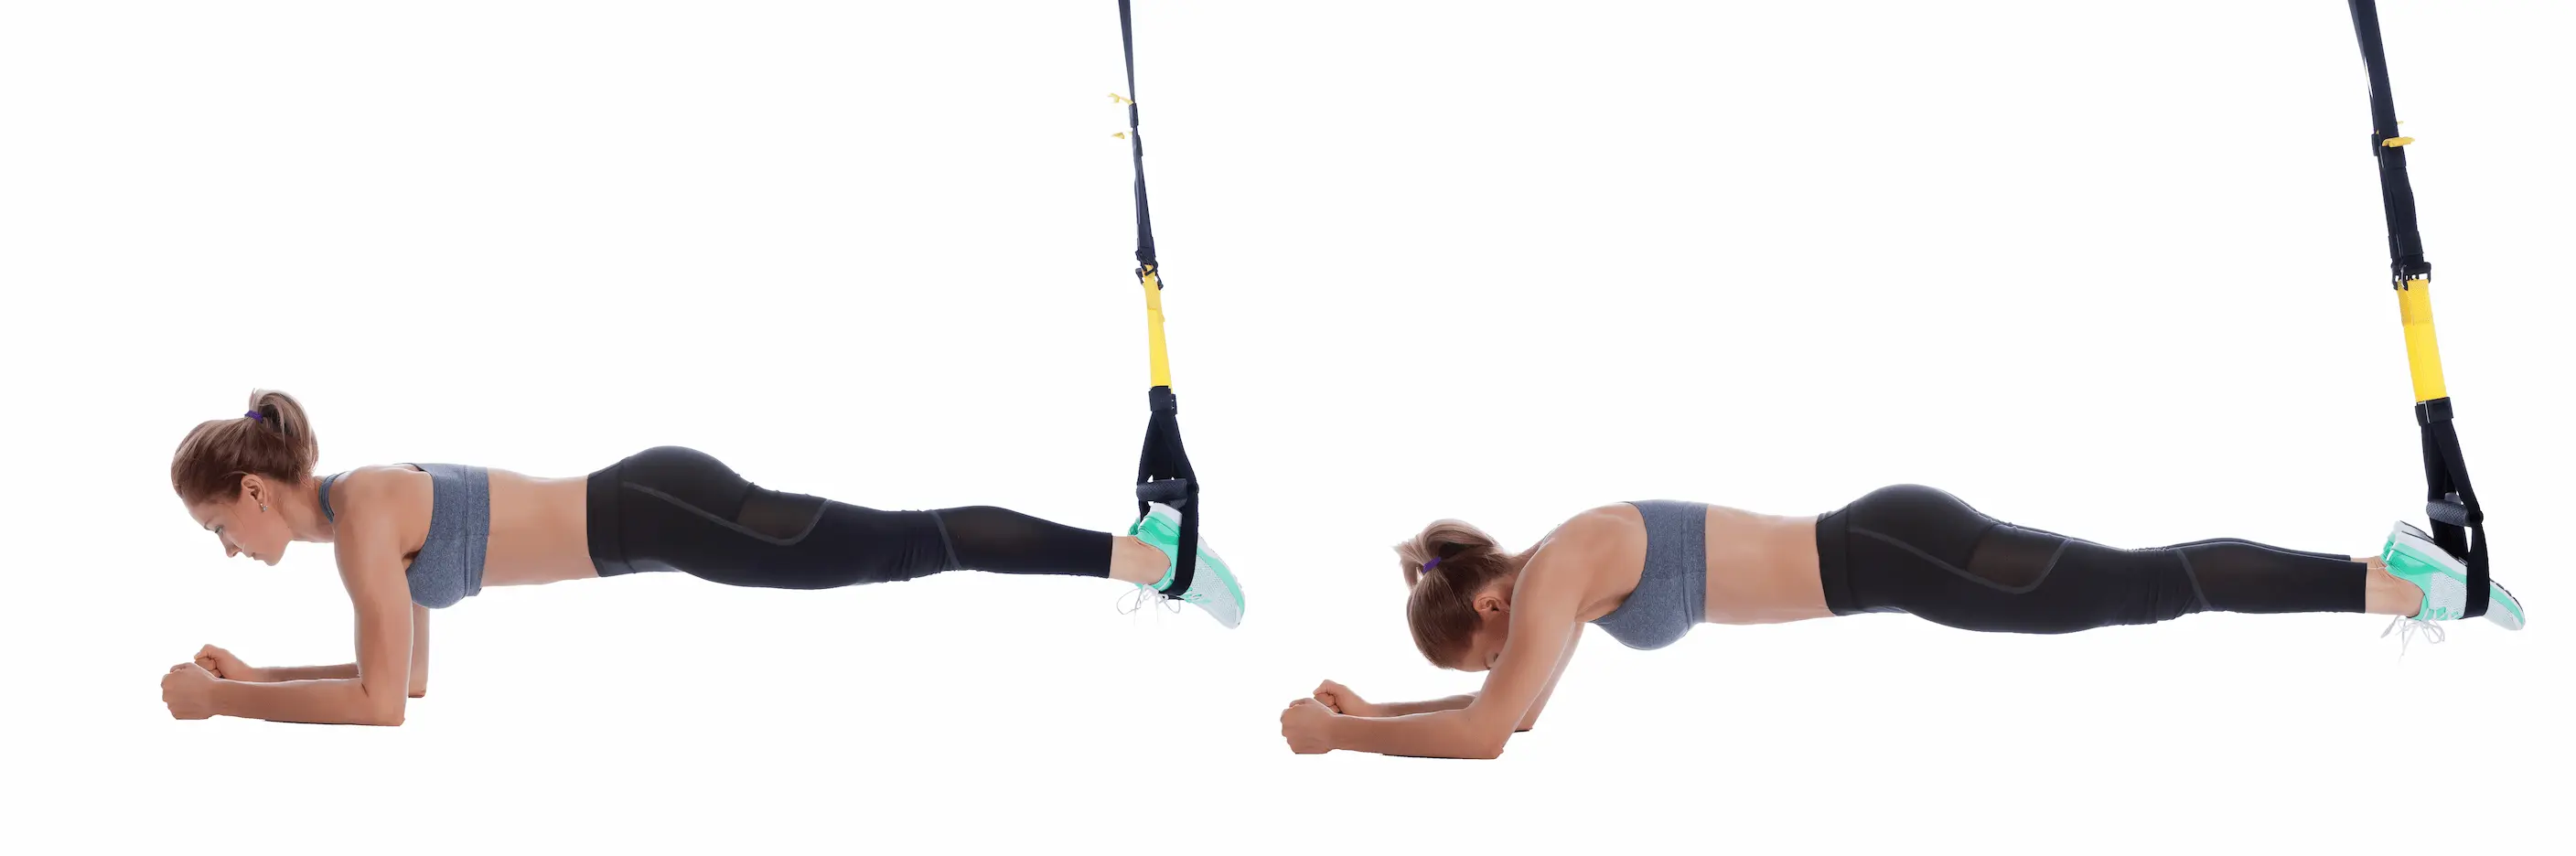
Arms straight, small forward shift of the center of gravity. Focus on anti-extension control without chasing maximum range.
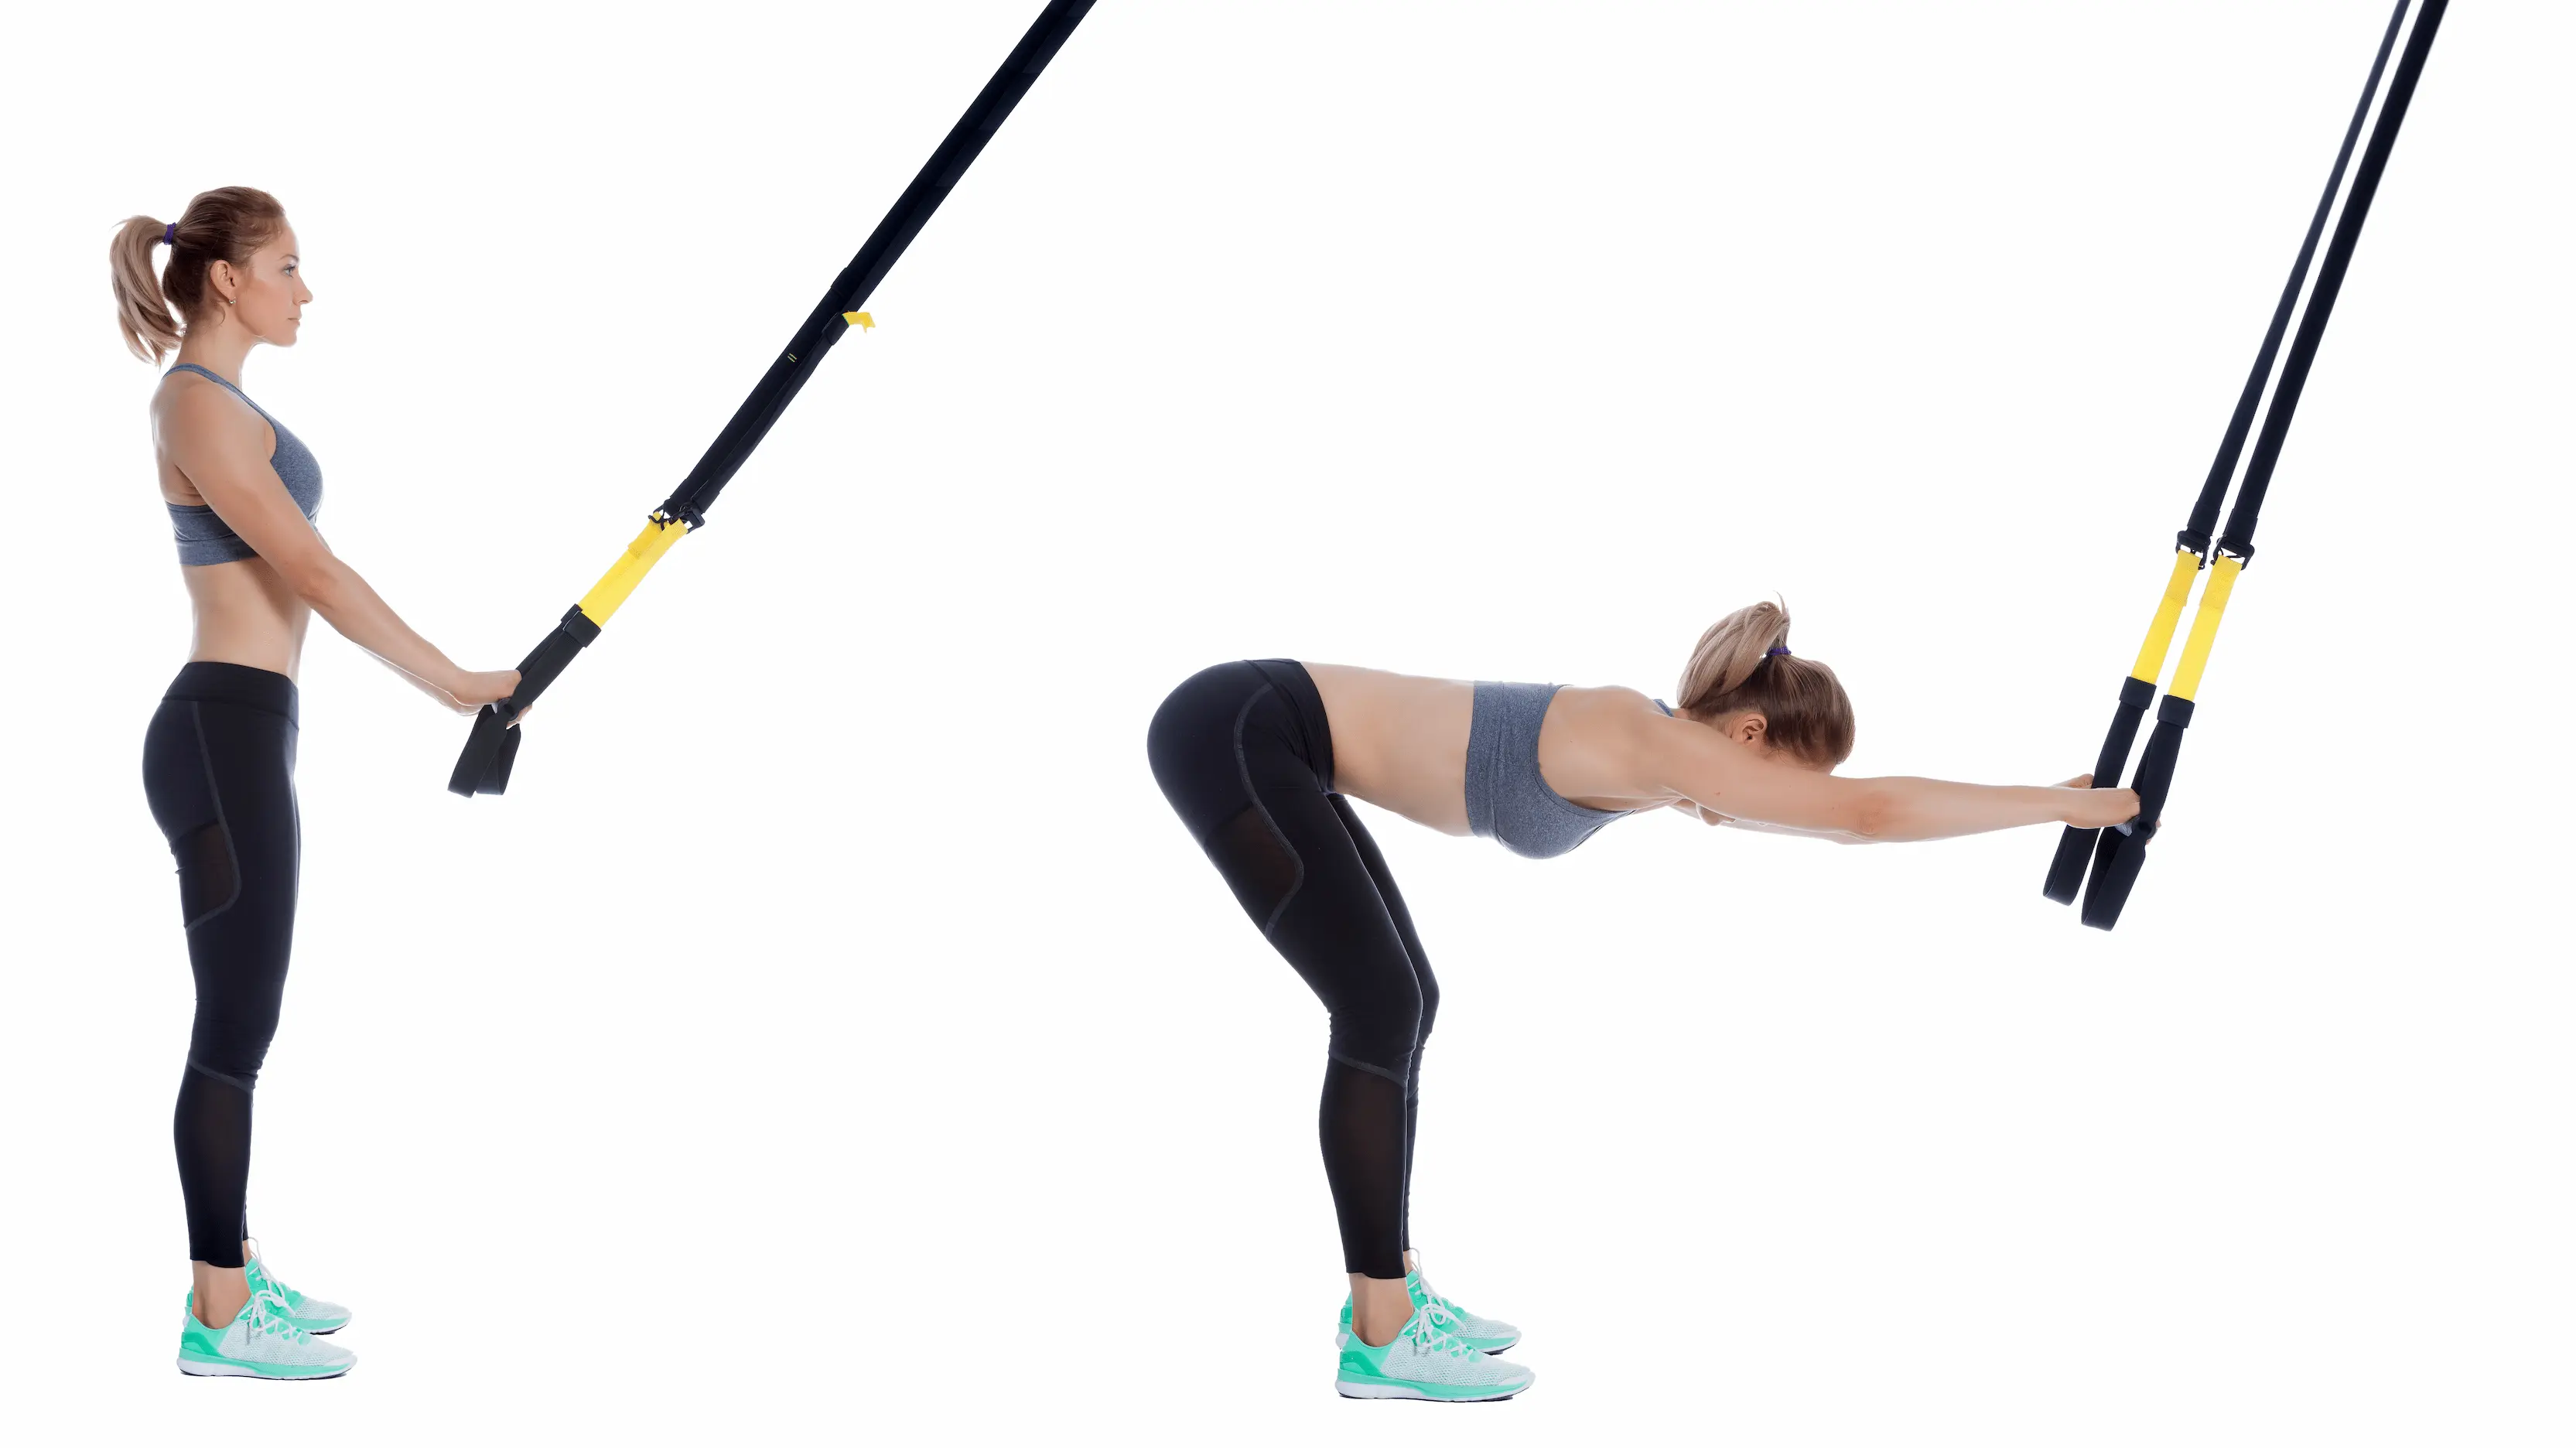
Reduced range of motion, elbows almost straight. Purpose: learn to “pull the shoulders toward the hips” — shoulder packing — to secure future TRX Pike / Push work.
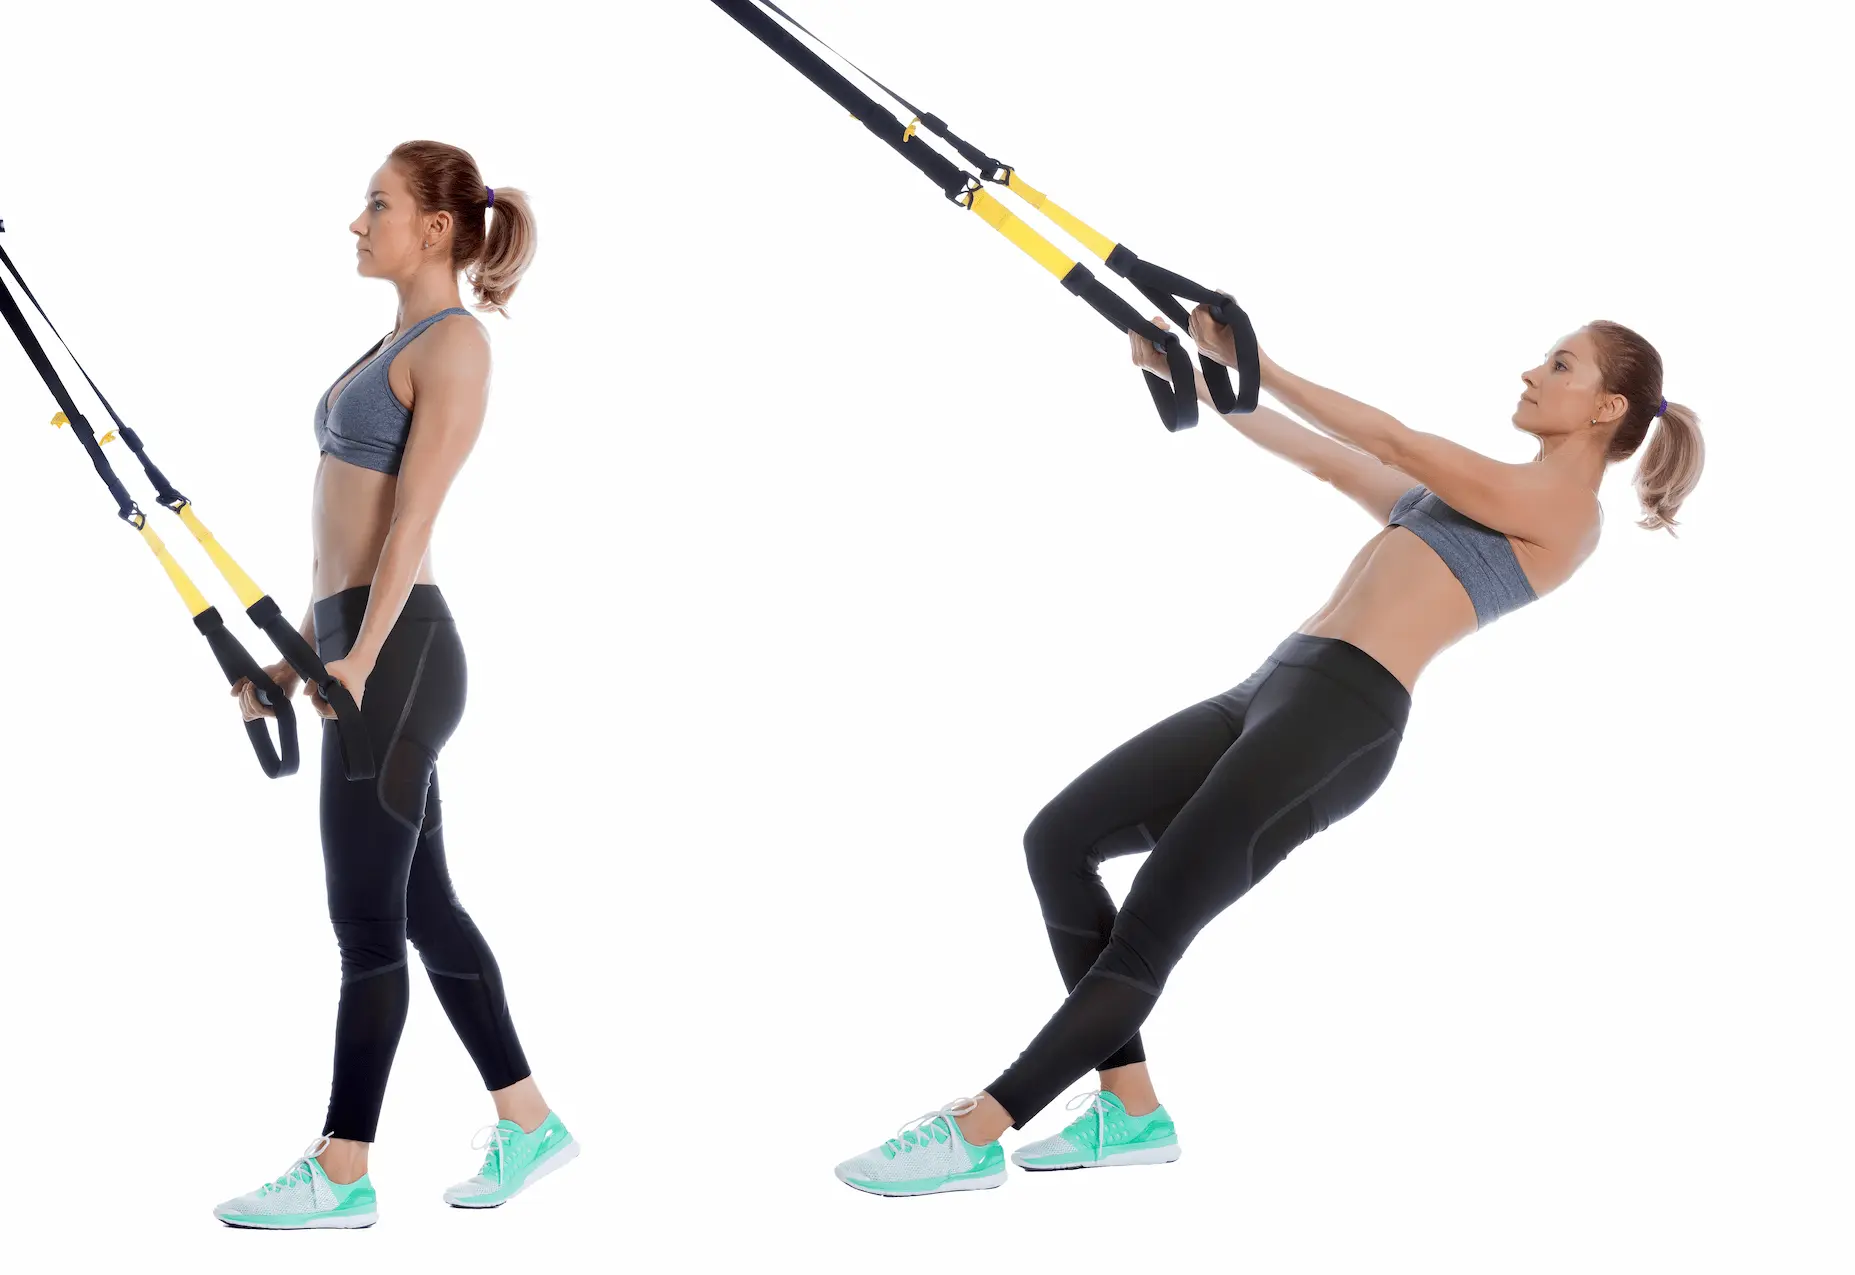
Assisted squat using the straps, with moderate range of motion. Helps wake up the hips, knees, and global coordination without creating excessive muscular fatigue.
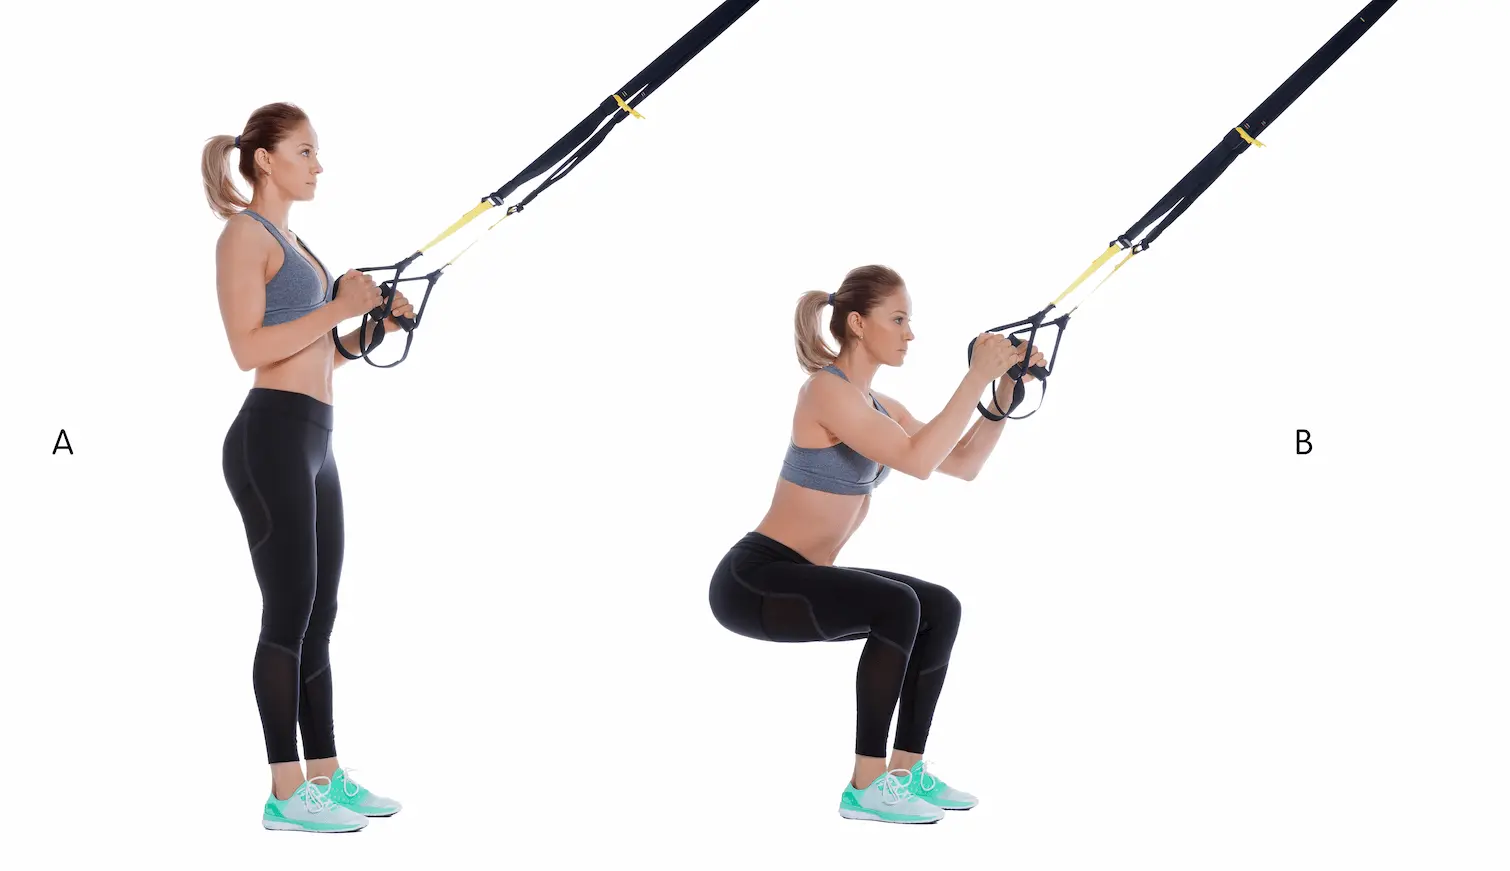
- Start position:
Stand facing the anchor point, feet hip-width apart. Hold the suspension straps — TRX®-style — with the arms straight in front of you and the body slightly leaning forward. Keep the ribs down, contract the glutes, and maintain a neutral spine. - Eccentric phase — “the glide”:
Let the body travel smoothly forward through shoulder flexion. The arms stay long, with the elbows locked. Lower until you feel strong tension through the abdominal wall, without arching the low back. - Concentric phase — controlled return:
Bring the body back to the start position by pulling the ribs toward the pelvis and squeezing the glutes hard. The movement comes from the core, not the elbows: keep them almost locked throughout the path. - Global alignment:
From heel to head, keep the body as one solid unit. Avoid breaking the neck position — keep the gaze neutral — letting the pelvis collapse, or pushing the hips backward to cheat the range. - Target tempo / range:
Work through a range you can control in 2–1–2 — lower, brief stop, return. Gradually increase the reach of the movement as long as the spine stays neutral and breathing remains fluid.
| ❌ Common faults | ✅ Best practices |
|---|---|
|
|
| Phase 2 — Neuro / Warm-up Anti-extension pre-activation | Phase 4 — Muscle Workout Anti-extension strengthening | |
|---|---|---|
| Purpose | Activate the anterior chain and establish a solid anti-extension pattern before Cardio Peak 1. | Strengthen the abdominal wall and anti-extension capacity as a scaled alternative to the ab wheel. |
| Structure | 2–3 sets of 6–8 controlled reps, medium range, tempo 2–1–2. | 3–4 sets of 6–10 reps, large or near-full range, tempo 2–1–2 with a slight pause in extension. |
| Load / intensity | RPE 5–6: focus on alignment, breathing, and a complete absence of low-back stress. | RPE 7–8: strong tension through the abdominal wall, while maintaining a neutral spine on every rep. |
| Rest between sets | 60–90 s between sets to maintain maximum technical precision. | 75–120 s depending on level and body weight, so the same alignment quality can be maintained. |
| Frequency | 1–2×/week at the start of the session, just before Cardio Peak 1. | 1–2×/week in the Muscle Workout block, away from sessions that are already demanding on the low back. |
| Key cue | Stop the set as soon as the low back starts to arch or breathing locks up, even if reps remain. | Choose an angle that leaves 1–2 reps in reserve; if you can do far more, step the feet forward; if you lose alignment, step them back. |
| Technical strength (Anti-extension control) | Muscle density (Continuous tension) | Muscular endurance (Local resistance) | |
|---|---|---|---|
| Goal | Build anti-extension bracing strength with perfect alignment. | Increase time under tension on the anterior chain without losing postural quality. | Improve core fatigue tolerance for longer sessions and WODs. |
| Sets | 3 | 4 | 3 |
| Reps | 6–8 | 10–12 | 15–20 |
| Tempo | 2–0–2 | 2–1–2 | 1–0–1 |
| Rest | 90 s | 60 s | 45 s |
| TRX® note | Here, “technical strength” means anti-extension control + scapular stability. A slow tempo and continuous tension are better than high volume. The 100-Rep Set is not relevant for this exercise because technical fatigue increases low-back risk. | ||
Phase 2 — Neuro-Activation
Integration logic
- Use the TRX® Fallout within the 1% Method in Block 2 — Anti-extension Core Activation, before Cardio Peak 1, to secure the spine.
- In traditional programming, pair it with push ↔ core combinations: Fallout → TRX Pike, or Fallout → TRX Row to balance pushing and pulling work.
- Reserve the longest ranges for trainees who can keep breathing fluid and maintain a neutral spine throughout the entire set.
Recommended frequency
- 1–2×/week is enough for most trainees to build a solid core before the HIIT blocks.
- Use 4–6-week progression cycles — range of motion or time under tension — followed by a lighter week to let the joints and spinal discs recover.
The Neuro Phase is not a warm-up — it is where you program the movement pattern.
HIIT tests your strength; Neuro builds your technique.
On the TRX® Fallout: if your low back moves, you have already gone too far.
TRX® is a registered trademark of Fitness Anywhere LLC.